The Self-Capture Upload Portal can be accessed here.
Logging In
Your Siteaware login credentials will be used to access the portal.
All project team members who will be part of the Self-Capture process must be assigned as Self-Capture Specialists in the Project Permissions section of the Siteaware Platform.
Project Selection Page
After logging in, users will be taken to the Project Selection Page, where they will see all of the projects for which they have been assigned as a "self-capture specialist".
Clicking on Interior Scan Data will take the user to the scan data page where they can either create a new scan to upload their data:
A scan is a capture for a single level and can contain multiple units.
For multi-building projects, the building can be changed from the dropdown shown below: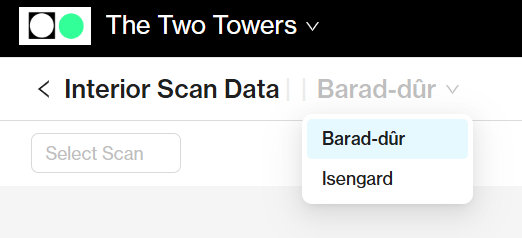
Create a new scan:
Selecting Upload Scan will open a selector allowing the user to choose the Level and Units that were captured.
Once selected, the Choose Files button will become active allowing the user to select the scan data folder to be uploaded.
Note: By default, all units for a floor are selected
After selecting a file, a pop-up will appear to indicate the progress of the upload
and a success notification will be shown once the upload is complete.
the folder will then appear in the Capture Data table.
Editing an Existing Scan
Users can edit the levels or units associated with a scan by opening the scan drop-down and selecting the edit icon.
The selection will not be saved until clicking the SAVE button.